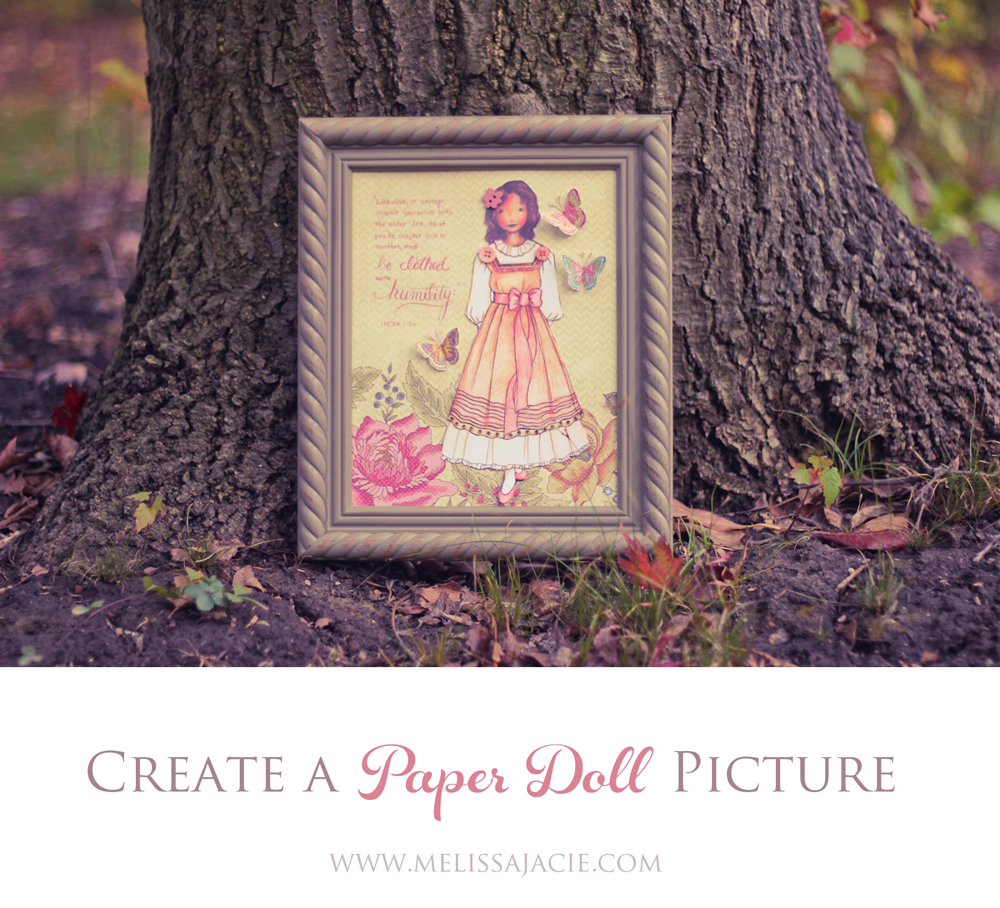
Here is a fun hands-on way to create your own Paper Doll Picture and brighten a corner in your home! :) Have a spot on your wall that needs to be filled? This craft can be simple and easy! Or, you can make it more challenging if you like …it’s flexible. ;)
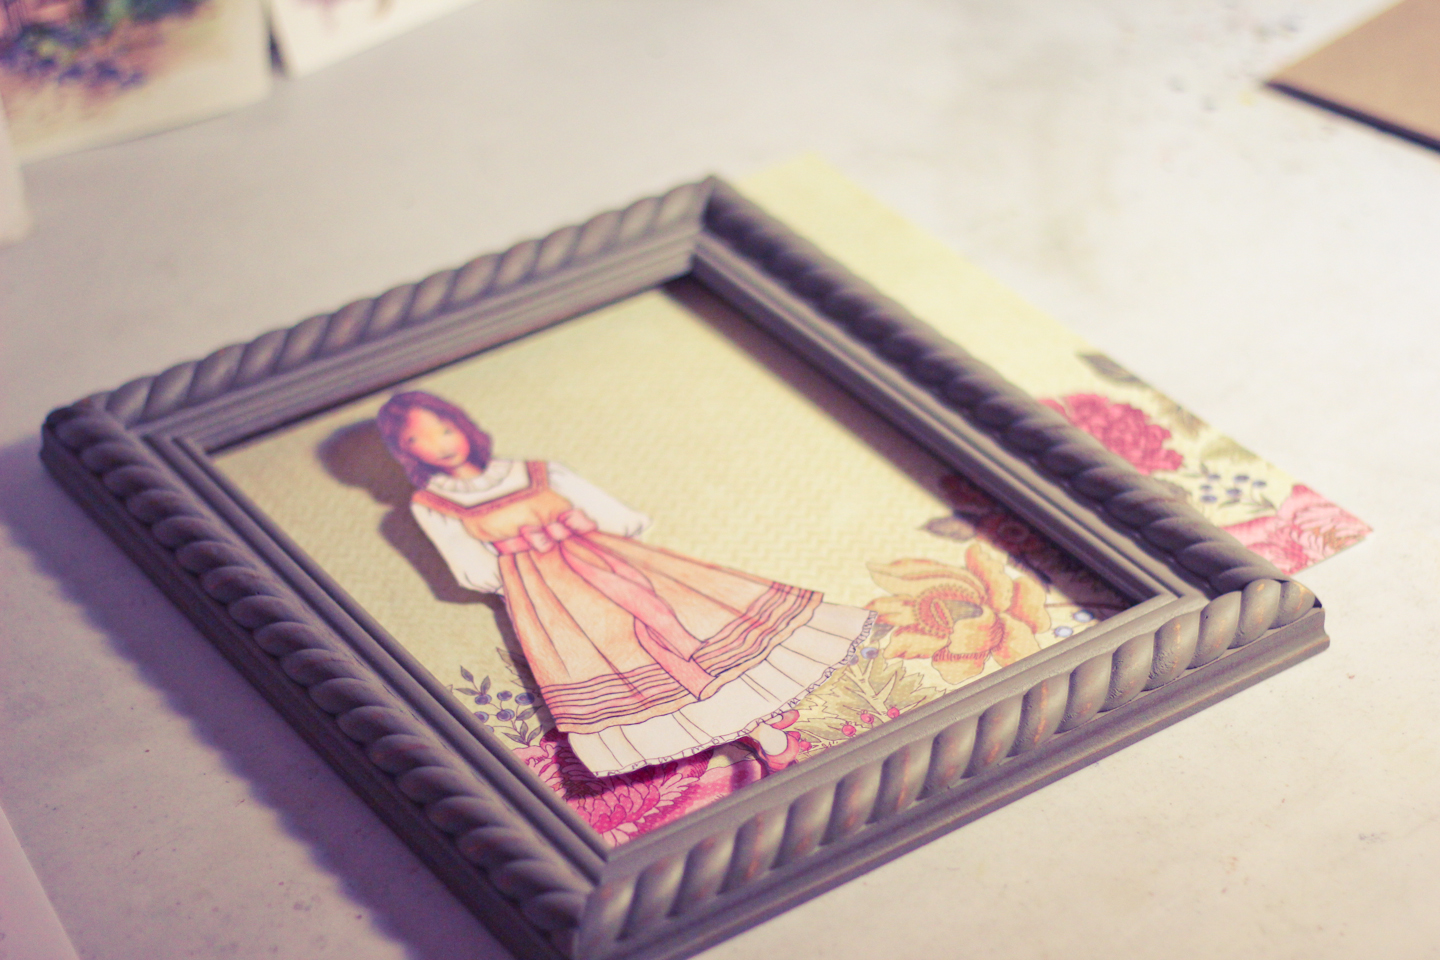
SUPPLIES:
– Frame
– Paper doll
– Scrapbook paper
– Scissors
– Glue
Optional:
Garden magazines, gems, stickers, ribbon, buttons, tape, fabric, lace, etc.
This Paper Doll Picture can be created and designed multiple ways …so even though I mention certain supplies, don’t feel like you have to use exactly what I’m showing here! Let your imagination soar and create it just how you like it! :)
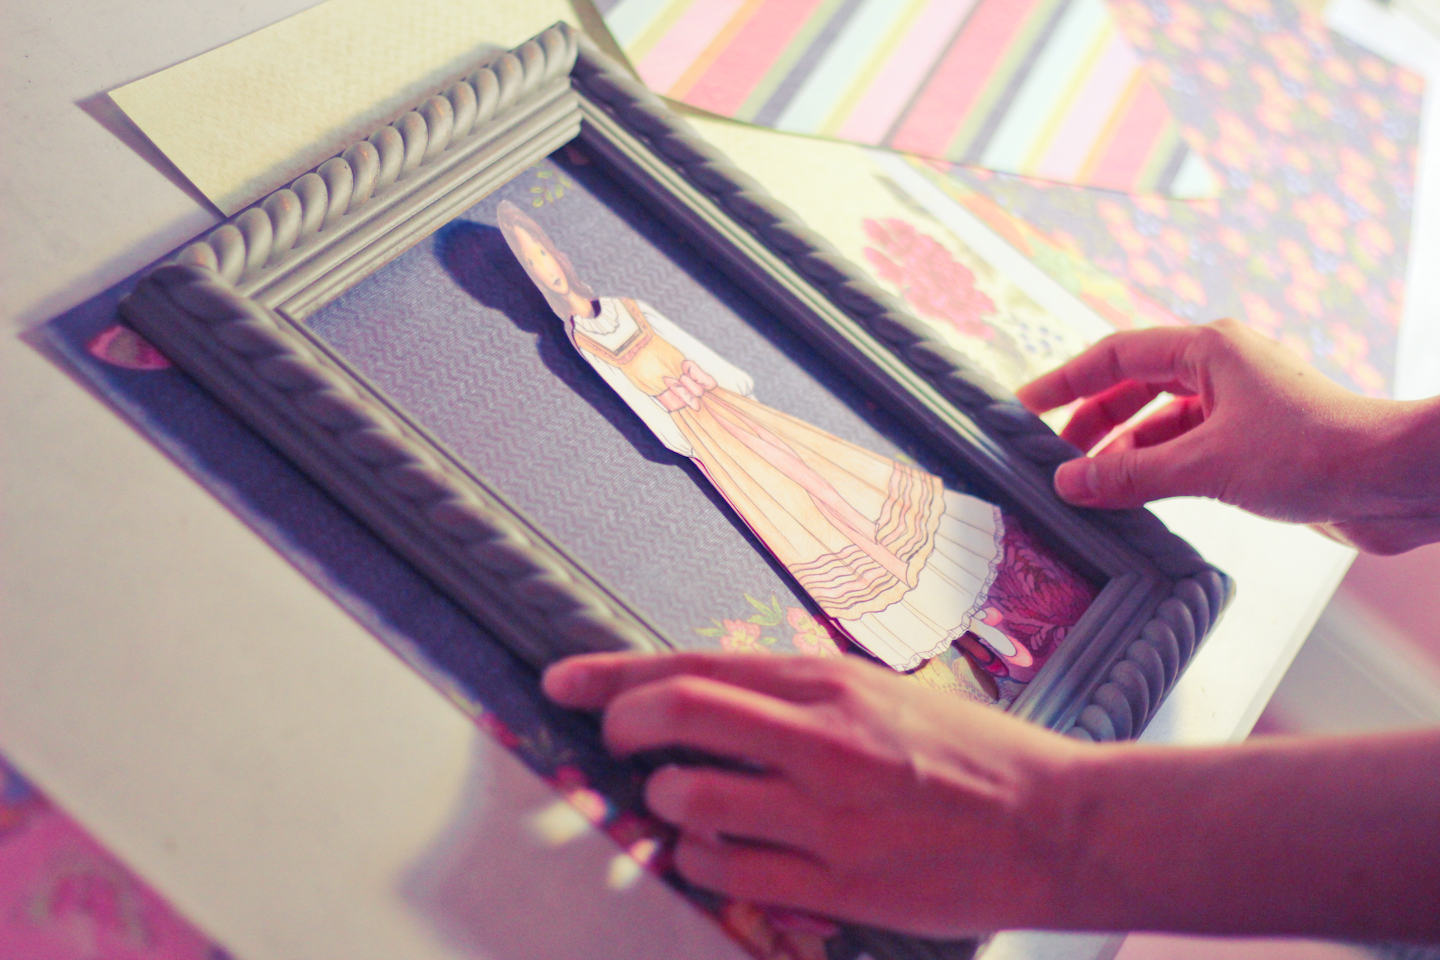
1. Gather Supplies and Cut Out Paper Doll
If you decide to purchase specific paper, you might want to choose your paper doll first and then take the paper doll with you to the craft store to find matching colors. (That could be fun!) :)

2. Choose a Background Piece of Paper and Cut to Size
Choose a background piece of paper for your picture! You might want to use the “substitute picture” that comes with your frame to help you know what size to cut it to. Or, you can use the removable frame back to give you an idea of sizing. Then cut out your background.
3. Design!
Cut out whatever shapes of paper you’d like, along with your doll. You could really play with this …try making hills, a garden, a house, etc. :) You can use buttons, gems, ribbon paper cut outs …whatever you might think would add to the picture!
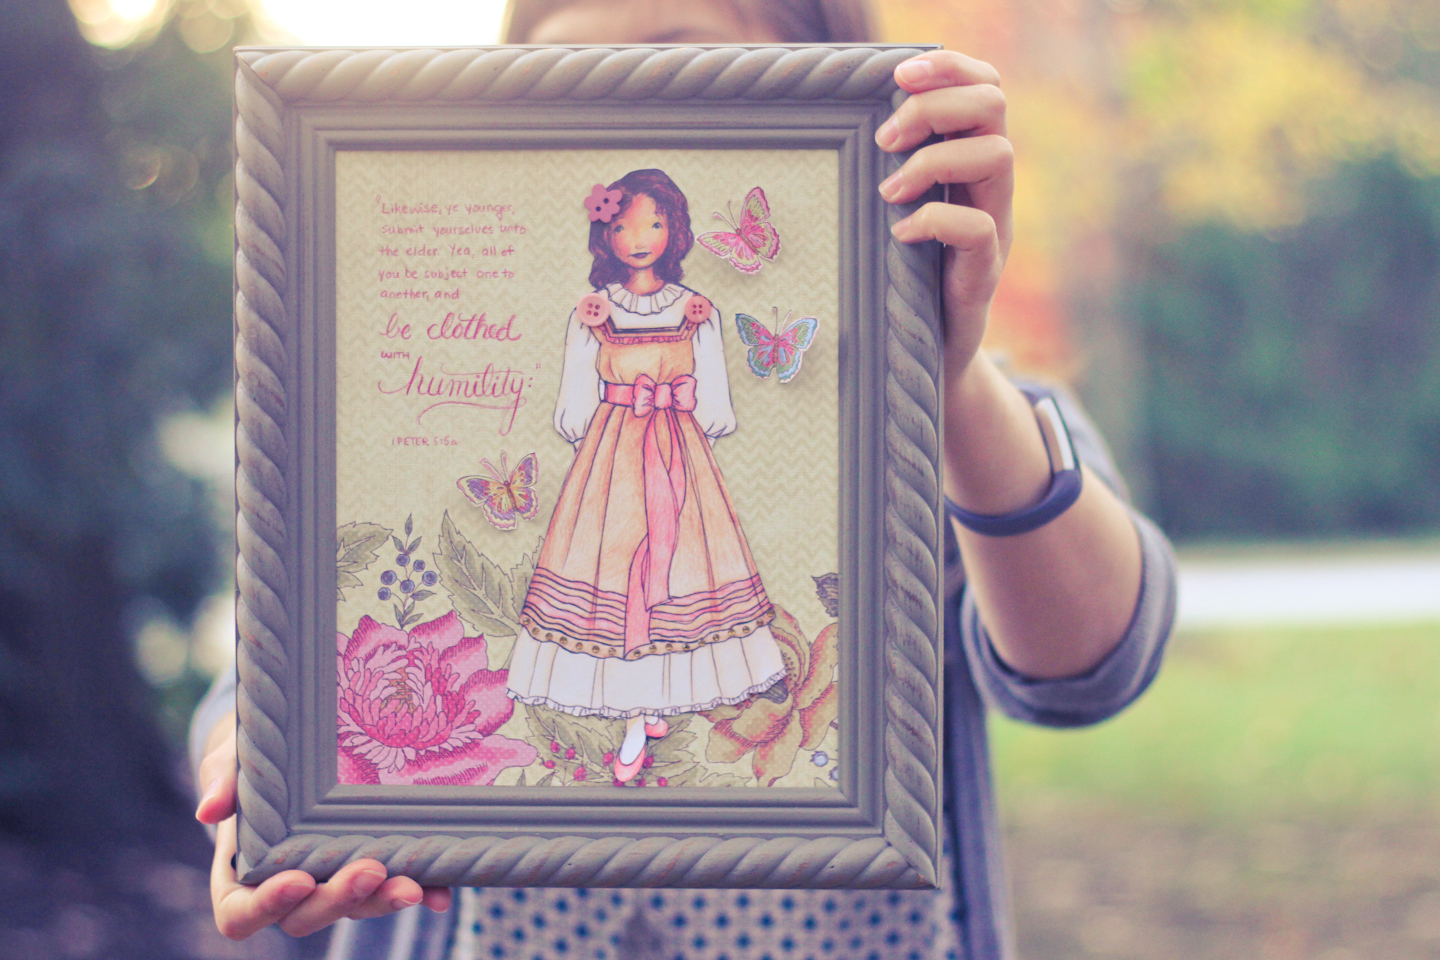
4. Finish with a Verse
If you like, finish the picture with a verse! The verse I put in this frame (1 Peter 5:5a) and the decorated doll can remind me that humility is beautiful.
I hope you have fun with this craft! Also, if you’d like to use the same free printable paper doll I used, you can find her here!
Also, a thank-you and shout out to my dear sister Melanie for helping me with pictures for this post! :)
Have you ever created a picture like this?
Do you have any other ideas of craft supplies (like gems, buttons, etc.) that you think would go well with this?

This is adorable and would be so much fun in a little girl’s room. I would make it so that the outfit could be changed for different seasons or moods! Another idea would be to make it into a 3-d picture. My mom used to buy gift wrap and cut out the pictures and layer them with a little clear caulk between the layers giving a 3-d effect. Some were very detailed down to the tiniest pieces cut and added to give some real dimension and then edges were fringed or cut specifically to draw more detail from the picture. Your dolls would be perfect for this type of picture as well. Thanks for sharing.
Hi, Patti! Thank-you so much for sharing! :) Changing the outfit for different seasons and moods would be neat! What do you think of making the background and doll magnetic? It might make for a fun way to arrange and re-arrange! It’s fun how this craft can expand from what is shown here! The 3D picture idea is a great idea too–that could be really cool! :) Thanks again so much for sharing!