Here is a “behind-the-scenes” look on the painting “Looking to Jesus”.

This painting started with a sketch. I scanned in the image, made it larger and used it as my background for beginning the painting. (Edit: Sometimes I will simply make the sketch straight on the computer when creating a digital painting. Most of my paintings have been created this way.) I then began to block in color. (One thing I like to do is to use many layers so that I can go back and edit or delete a part of the painting without hurting the rest as easily. Although I did not save these pictures (below) while I was actually working on the painting, I was able to go back and hide layers so that you can see some of the process!)
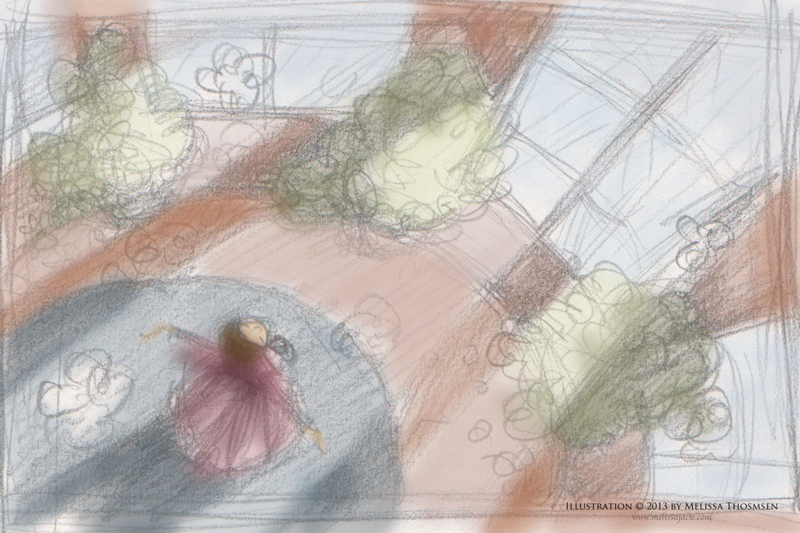
As you can see above, I used a less opaque setting for the paint. As usual, I kept to the soft airbrush.
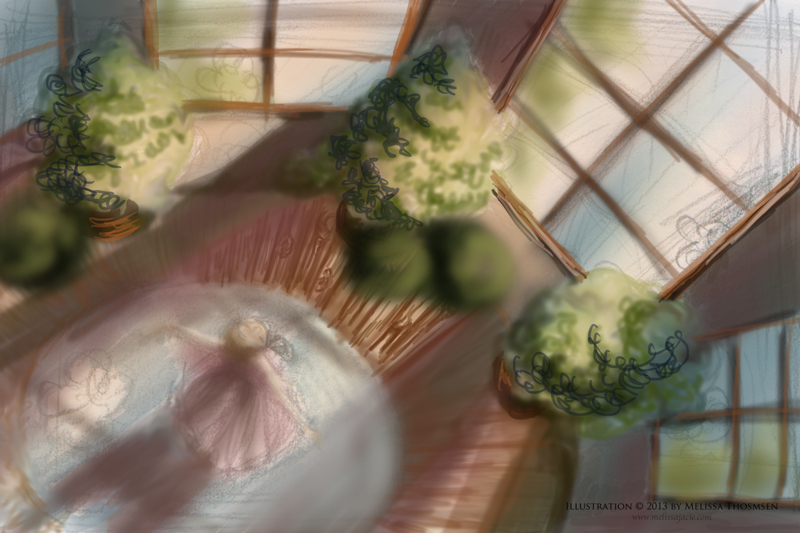
Beginning to work in deeper colors and definition.
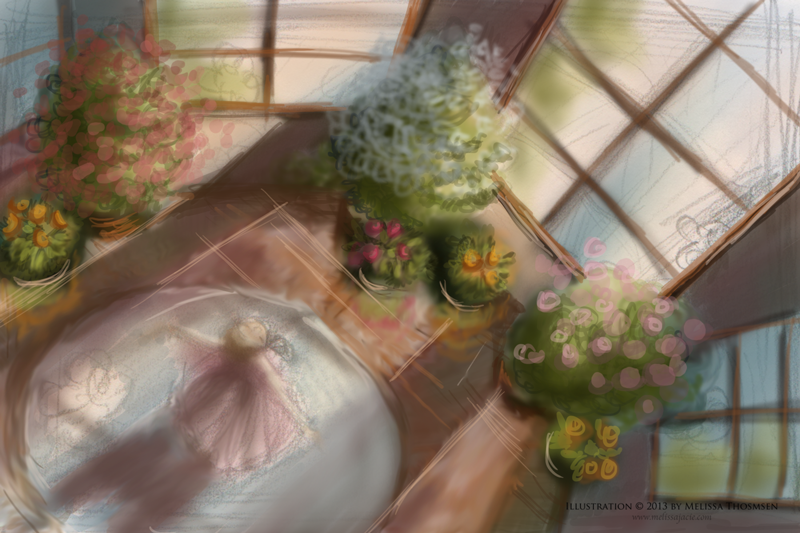
Adding in placement of flowers and more details and color.
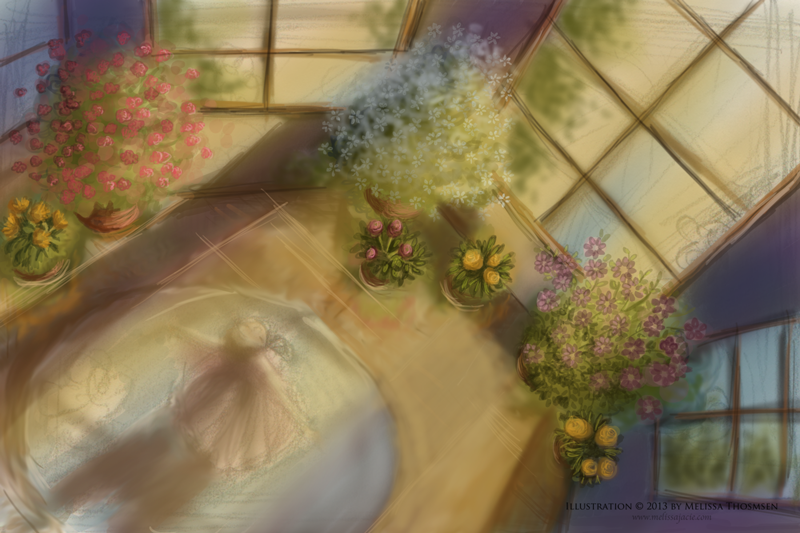
Still adding in more touches and sharpening the overall look. Added streams of light and changed direction of color.
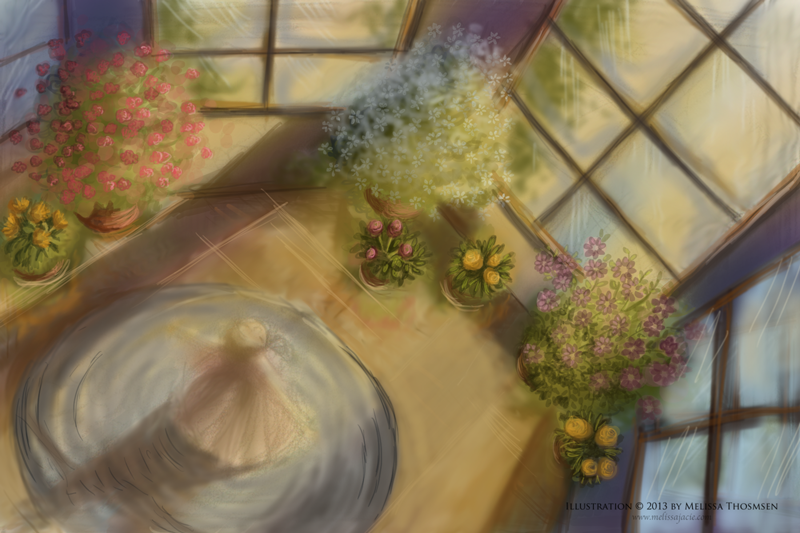
Continuing to sharpen.
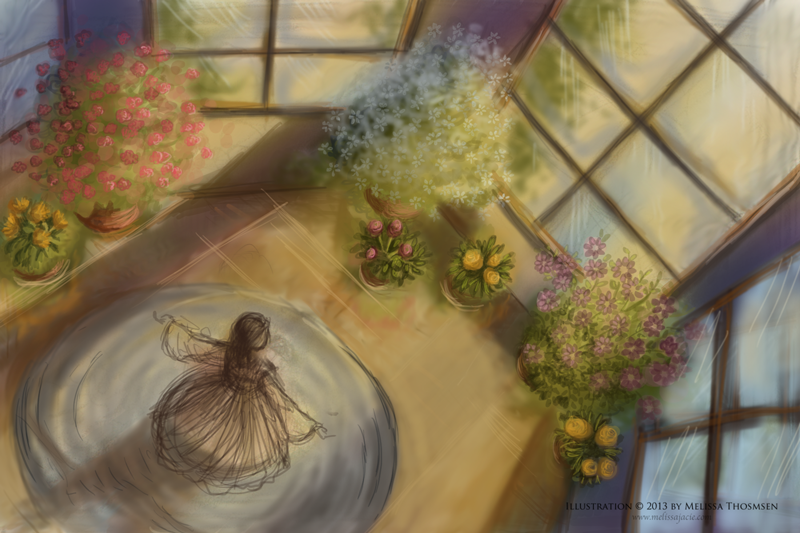
I ended up trying three different positions for the girl before I found one I liked the most. Position #1 (above).
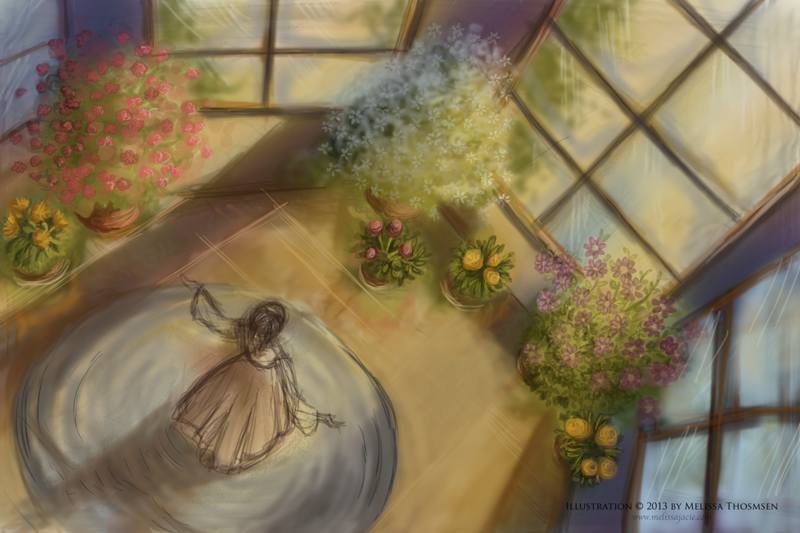
Position #2
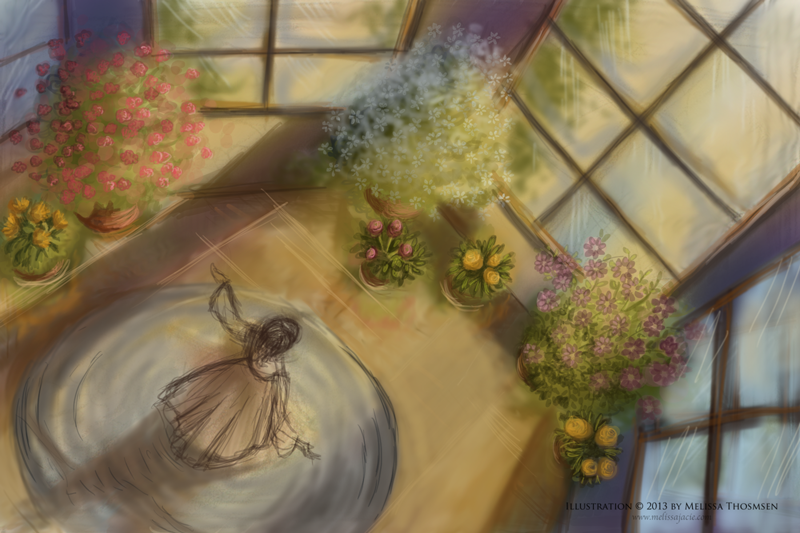
Position #3
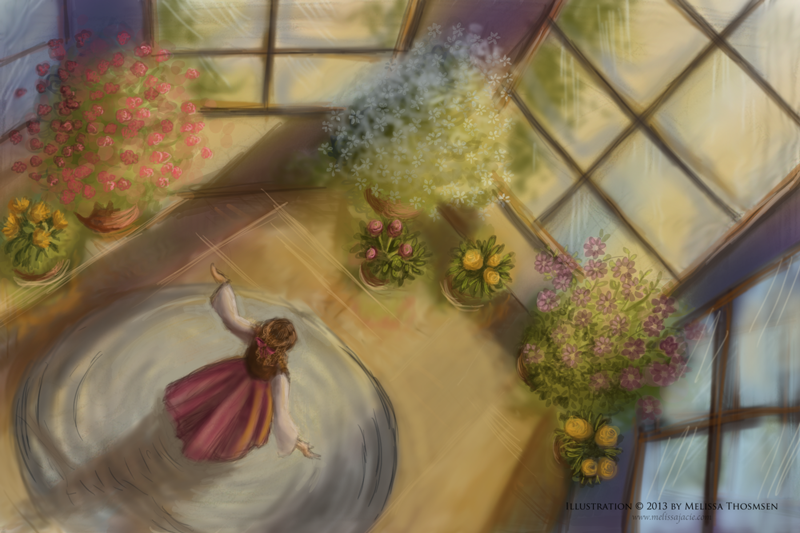
Added in color …
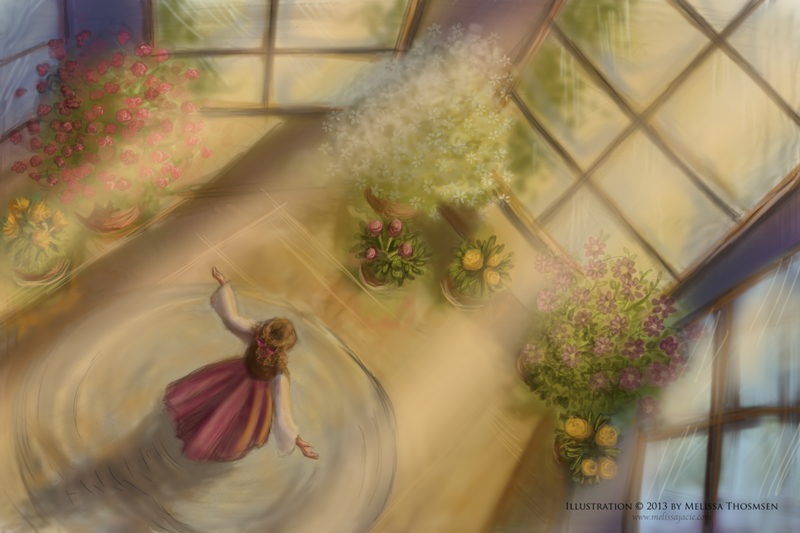
Final touches and it is ready for the verse and extra editing with the color and brightness.

And there you have it! A “behind-the-scenes” look of a digital painting.


Forgive my ignorance, but when you say “digital painting” does that mean you do both “by hand” and by computer? I am assuming so, since you’re speaking of removing layering – and I know you can’t do that very well in real art. :) Do you use Photoshop? About how long does it take from start to finish?
~Amanda
“As for God, His way is perfect . . .” Psalm 18:30a
Well, it really depends on how I approach the digital painting. I have done it where I’ve created a sketch that I scanned into the computer and painted on top of (like this example), but I’ve also done it completely on the computer, sketching and all. Yes, I do use Photoshop! And that’s were all the layering can be done, providing great flexibility which I love!! :-) I also use a Wacom tablet and pen for my digital paintings. It depends on the painting, but with one of my paintings it took around four/four and half hours, I think. Thanks for asking!!
Thanks for explaining more in detail – how very neat! Did you take classes/courses to learn how to get the depth? or do you find most of your learning comes by trial and error? Since I’m more into the technical field than art, it’s been very interesting to find out both sides of the spectrum. :) Thanks for taking time to do so!
~Amanda
“These are the things which ye shall do: speak ye every man the truth with his neighbor, execute the judgment of truth and peace in your gates.” Zechariah 8:16
You’re so kind to say I had depth in my work! That has been something I feel like I have missed in my art before! Thank-you for your encouragement! :-) Some years ago when I was really wanting an art teacher, the Lord helped me to see that He could be my teacher! And it’s so true! He is truly my best art teacher! I have had classes and lessons, and have also taught myself. Right now, I’m currently pursuing art mentorships. :-) Thanks for your questions!! :-)
Your testimony sounds a lot like ours (except with music :)). How gracious God is to provide our needs – and when we need them!!!! I love hearing how God works in others, helping them develop the gifts He gives them. :) Thanks for sharing!
~Amanda
“Ask and it shall be given you, seek and ye shall find, knock and it shall be opened unto you.” Matthew 7:7