

This is a simple method that can really help illustrators in their process! You’ll need some artwork intended for coloring/painting, as well as a camera/scanner, computer with editing software, a printer, and paper.
After you have created the artwork you want to color or paint, use a scanner to upload the artwork to your computer. If you do not have a scanner, use a camera. Although a high quality camera would be optimum, I think you could do a version of this method with a phone camera! ;)
Once the artwork is in the computer, use an editing software to crop and work with the exposure as needed. I use Photoshop to help me in getting the artwork ready. If your editing program has the capability, you can clean up the artwork by erasing parts that may have had issues or problems.
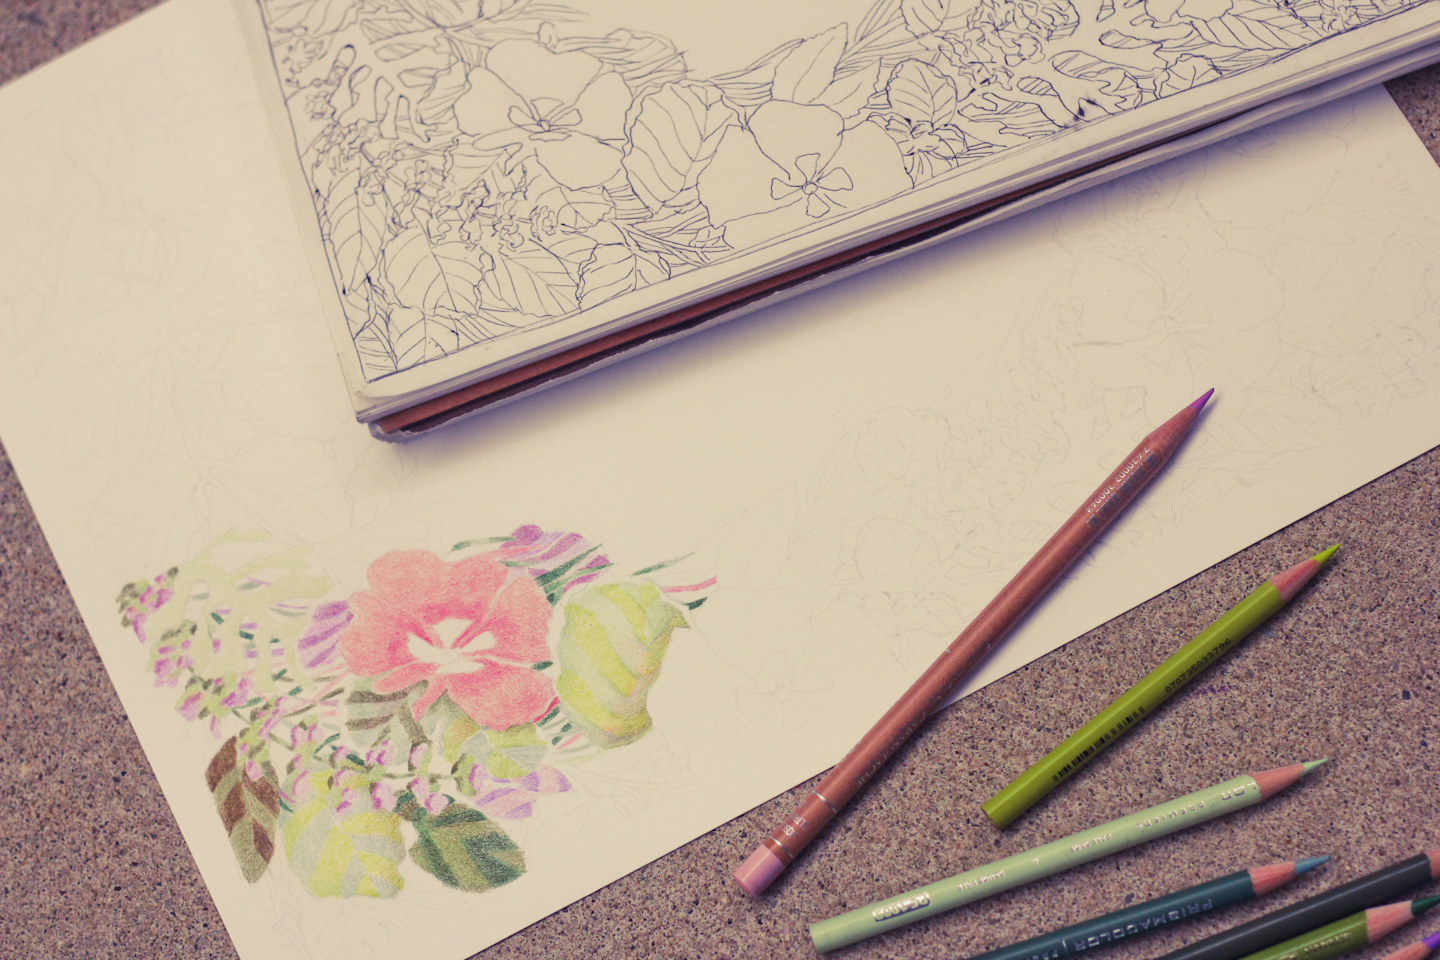
It’s hard to tell, but can you see the printing on the right hand piece of artwork? Another advantage to this method, (if you decide to print your drawing softer than the original) is that you can add to your drawing or change it without too much problem when you’re coloring it.
Next, decide what kind of paper you want to print the artwork onto. (Check your printer manual to see what kinds of paper your printer can handle.) This is soooo helpful, because if you haven’t already guessed, you can print multiple copies of your drawing! No need to worry about ruining your color work or messing up your drawing …just print it again! :)
I really like this method and highly recommended it! Have you tried this before? How has it worked for you?
(Note: Photos are edited.)

I love this paper doll!